DIY Stackable Rabbit Cages: Step-by-Step Instructions for Building Your Own
Are you an animal lover looking for a great way to house your furry friends? Look no further, because in this blog we're going to show you how easy it is to build your own stackable cages for rabbits and other small animals!

For many rabbit owners, providing a safe and comfortable environment for their furry friends is a top priority. Stackable rabbit cages are a great option for those who have multiple rabbits but don't want to take up too much space. However, buying pre-made cages can be expensive. The good news is that you can make your own stackable rabbit cages with minimal effort and cost. In this article, we'll guide you through the process of making your own DIY stackable rabbit cages.
If you're a rabbit lover, then you already know how important it is to provide your furry friends a comfortable and safe environment. Commercial rabbit cages can be expensive, and often times don't offer enough space for your rabbits to move around and be active. That's why building your own stackable rabbit cage is a great DIY project! Not only will it provide more space for your rabbits to live and play, but it can also be more cost-effective than buying a pre-made cage. Below are step-by-step instructions on how to build your own stackable rabbit cages.
The first step to building your stackable rabbit cages is to gather the necessary supplies. You will need 1/2-inch PVC pipe, connectors, zip ties, wire mesh, a saw, and rabbit-safe stain or paint for the wood. The amount of supplies will depend on how many cages you are building and the size of each cage.
Addtional Materials that you will need
Wooden planks
Wire mesh
Nails/screws
Hinges
Latches
Plywood
Saw
Drill
Measuring tape
Wire snips
Measure your materials
Before you start building your stackable rabbit cages, measure your materials based on the size of your rabbits. You want to make sure they have enough space to move around and stand up. The general rule of thumb is to have at least 4 square feet of living space per rabbit. Once you have your measurements, cut the wooden planks and wire mesh accordingly
Cage design:
Next, it is time to decide on a design for your rabbit cages. A popular design is a rectangle shape with mesh on the sides. This design allows for plenty of ventilation while still keeping your rabbits safe and secure. Another aspect to consider is the size of each cage. Larger cages allow your rabbits more room to move around and are healthier for them.
 Milan Lani
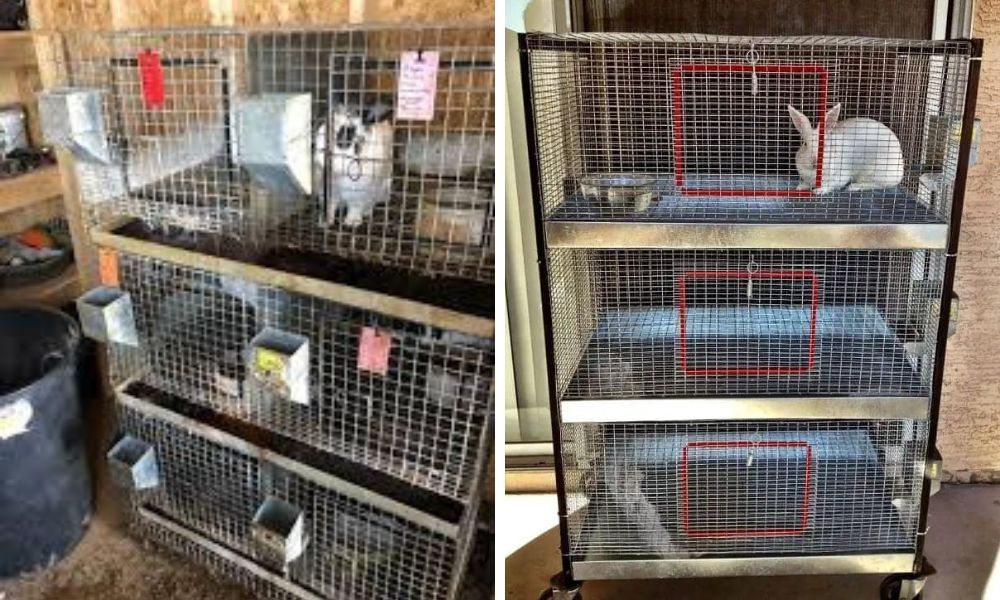
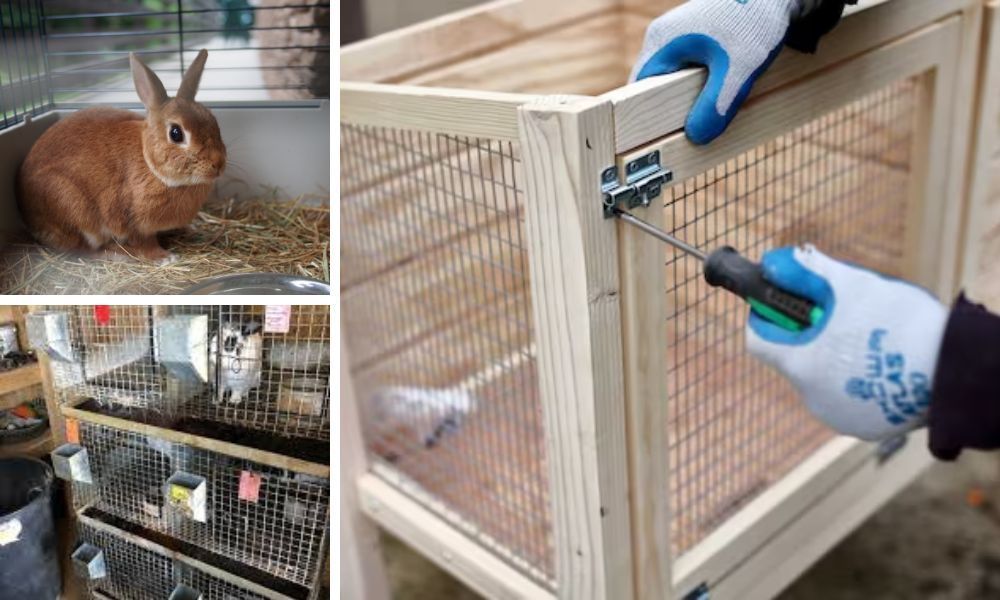
Build the frame from wood
Construct the frame of the cage by nailing or screwing the wooden planks together. Your frame should be sturdy and reinforced at the corners for extra stability. Make sure the frame is level and square, or your cage won’t stack correctly.
Building the frame from PVC:
Another way to build a frame is by using the PVC pipe and connectors. You can easily build the frame for your cages. Cut the pipe to the appropriate sizes for each side and connect them using the connectors. Make sure to use zip ties to secure the wire mesh to the frame. This will ensure that the mesh is sturdy and will not come loose over time.
Adding a door
Once your frame is complete, you'll want to add a door to each cage. This can be done by cutting a hole in one of the sides that will act as the door. Attach hinges to the side that will serve as the door, and attach a latch to the other side to keep the door secure.
Add the wire mesh
Attach the wire mesh to the frame using wire snips, making sure it covers all the gaps to prevent your rabbits from escaping. Use a staple gun to secure the mesh to the wooden frame. You can add additional wire mesh to the bottom of the cage if you plan on keeping the rabbits outside to prevent predators from entering.
Add a plywood base
Attach a plywood base to the bottom of the cage using screws or nails. This will prevent any of the rabbit waste from falling through and help with cleaning.
Step 5:Install hinges and latches
Install hinges on the back and latches on the front of the cage. This will allow you to open the cage easily for feeding and cleaning, and keep your rabbits safe inside. You can also install wheels on the bottom of the cage for easy mobility.
Finishing touches
Once your frame and doors are complete, it's time to add the finishing touches. Paint or stain the wood to protect it from the weather, and add any additional features that you want, such as shelves or a ramp for your rabbits to climb on.
Milan Lani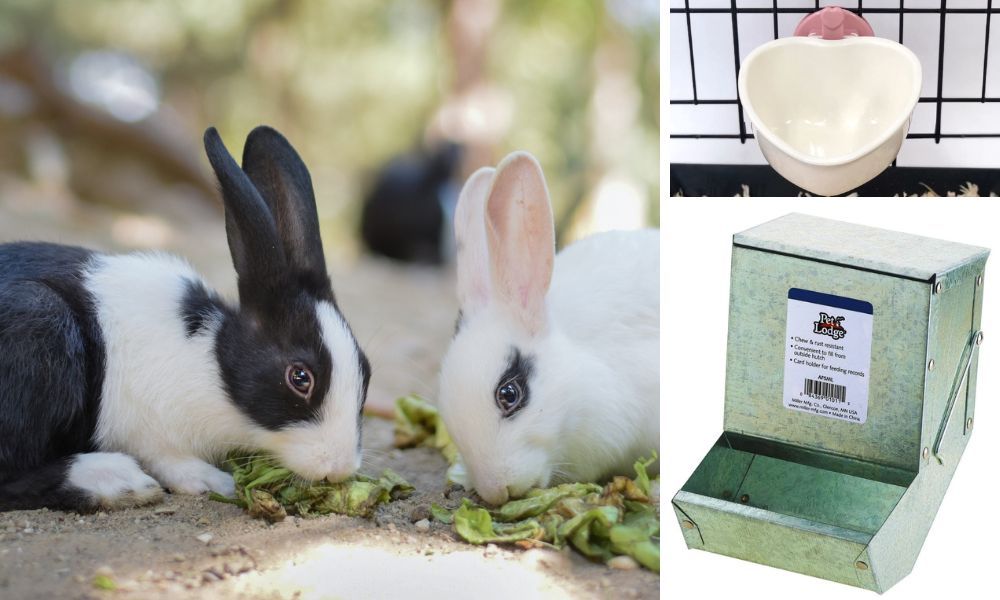
At the end...
Building your own stackable rabbit cages can be a fun and rewarding DIY project for any rabbit lover. Not only will it provide your furry friends with a more spacious and comfortable living environment, it can also save you money in the long run. By following these step-by-step instructions, you can create safe and secure rabbit cages that you can stack to save space. So grab your supplies and get started on building your own stackable rabbit cages today!
Looking for a high quality and ready made stackable cages for rabbits? We have done all the research for you and put together our list of top 5 stackable cages you can buy today! Tap the button below to see the list now!